How to control a renovation crew when you are not a builder

Controlling a renovation does not mean standing over the crew. It comes down to three things: clear agreements, regular evidence of work and accepting stages before paying. You don’t need a construction degree for that — you need a system.
1. Agree on everything before the start
Most renovation conflicts are not about quality but about different ideas of “but we agreed”. Put in writing:
- the list of works and what each includes (for example, whether “plastering” includes priming and guide beads);
- the estimate: unit prices and quantities;
- the schedule with stages and dates;
- who buys materials and how spending is reported;
- how stages are accepted and when payment is made;
- how the crew reports: photos, how often, through which channel;
- practicalities: debris removal, cleaning, working hours, site access.
A construction contract with these points protects both sides. Have a lawyer look at it before signing.
2. Pay for accepted stages, not for time
The most reliable scheme:
- An advance for materials — against receipts.
- Labour — after the stage is done and you have accepted it.
This way the crew is motivated to finish the stage, and you have a moment to say “stop, this needs redoing” while the money is still yours.
3. Photo reports: what exactly to ask for
Photos without a system don’t help much. Agree on rules:
- After every task — a general shot and details.
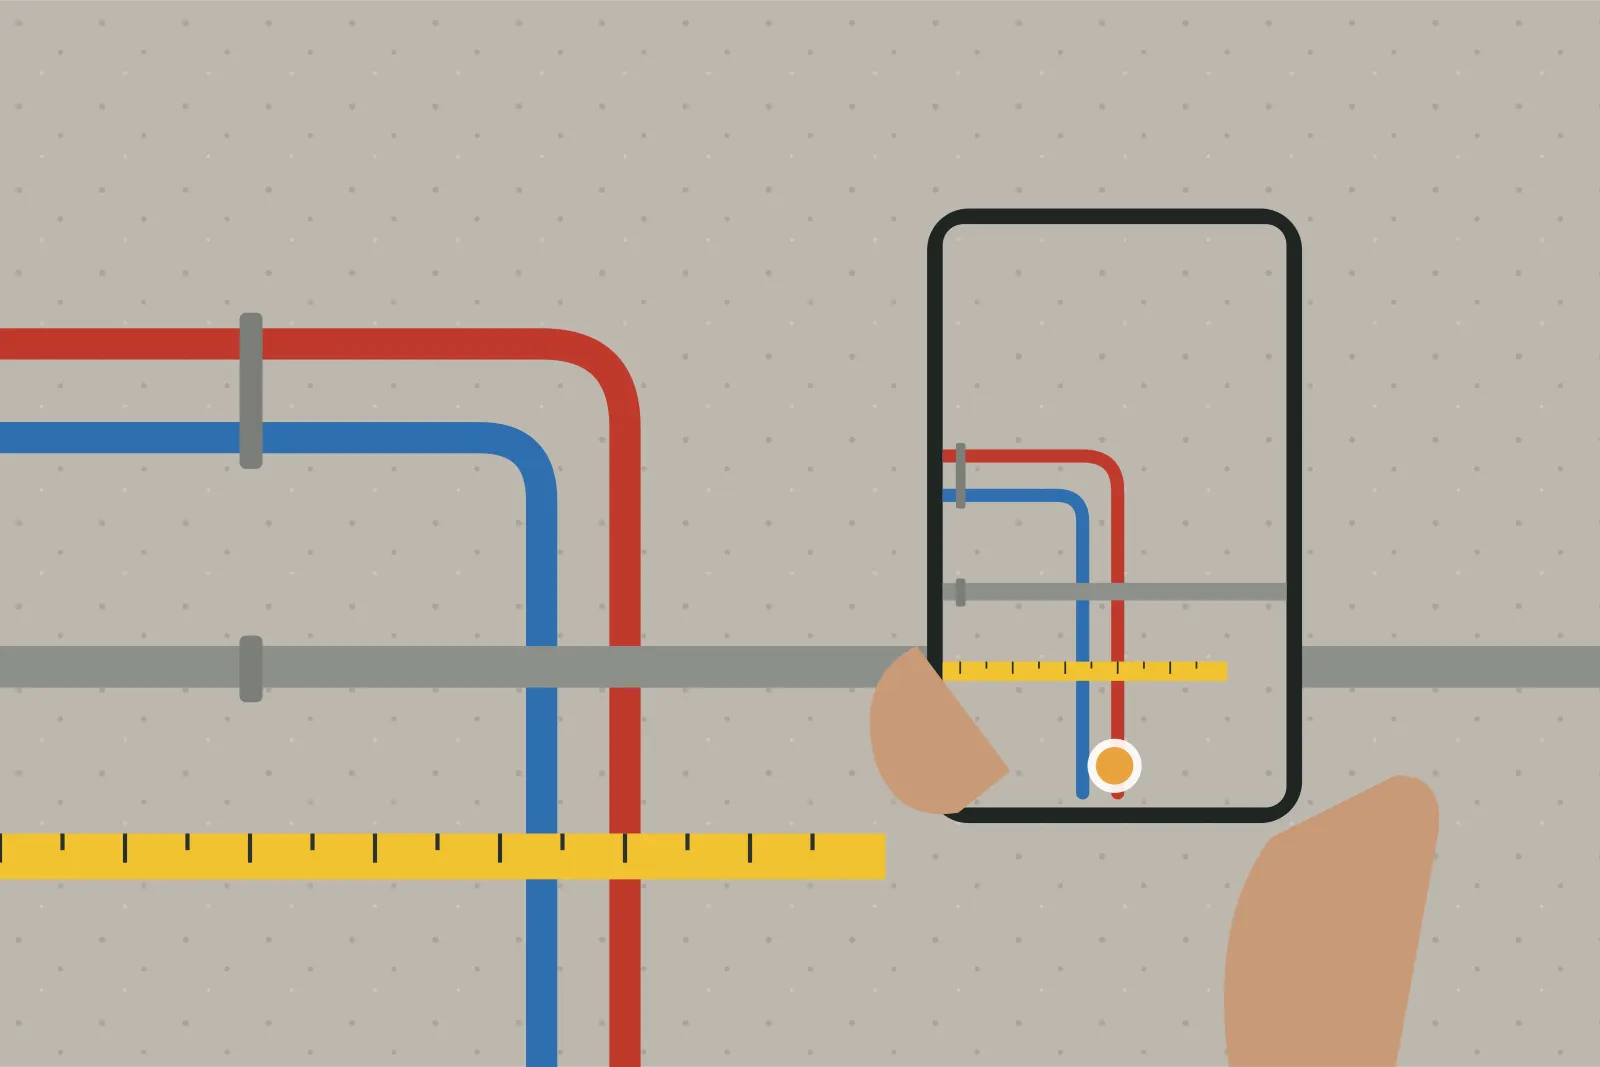
- Hidden works always before covering: cables, pipes, underfloor heating, waterproofing, reinforcement. Ideally with a tape measure in frame to show distances from corners and the floor.
- The same angles before and after, so progress is visible.
- Date and author. Photos sent to a general group chat are lost within a week. Keep them tied to a specific task and room.
4. Key moments to be there in person
Not everything can be judged from photos. Come yourself (or invite a specialist) at these points:
| Moment | What to look at |
|---|---|
| After marking out electrics | Sockets and switches where the plan says; heights |
| Before electrics are covered | Cable routes, connections, distribution board, photos of everything |
| Before pipes are covered | Pressure test, no leaks |
| Before plastering | Guide beads level, windows installed |
| After waterproofing | Water test, corners and pipe penetrations |
| Before finishes are laid | Flat walls and floor, dry screed |
| Finish | Joints, junctions, doors, sockets and taps working |
5. How to check if you are not a professional
A few simple tools are enough to notice obvious problems:
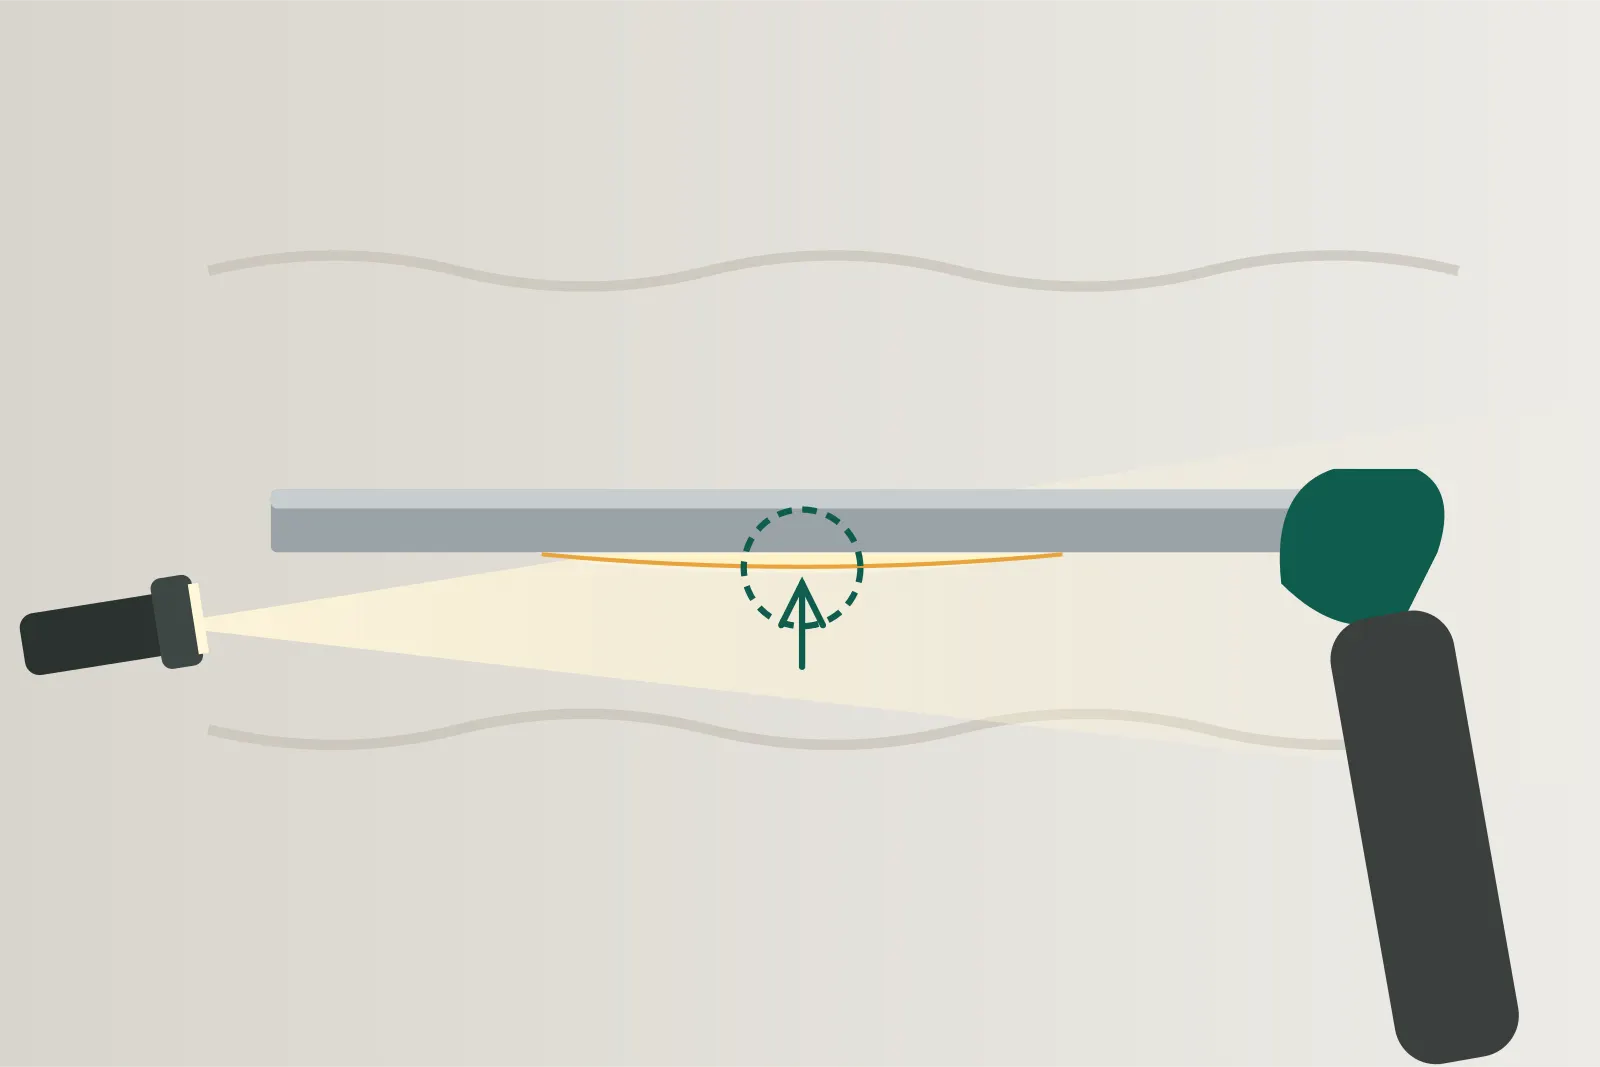
- A long straightedge or level (about 2 m): place it on the wall or floor in different directions and look at the gap.
- A square — for corners that should be right angles (especially where furniture will stand and tiles will be laid).
- A tape measure — compare against the plan.
- A torch held at a low angle to the wall — side light shows waves in the skim coat.
- Tapping tiles — a hollow sound may mean a void under the tile.
Allowed tolerances depend on the type of work and on the standards in your country. It is best when they are written into the contract: then a dispute is settled by a number, not by a feeling.
6. How to send work back for rework
If something is wrong:
- Don’t stay silent until the end. The later it is, the more expensive the fix.
- Write it down, don’t just say it. What exactly is wrong, where, with photos.
- Give the reason, referring to the agreement: plan, estimate, contract.
- Agree on a deadline for the fix.
- Don’t pay for the stage until it is fixed and accepted.
A calm, factual written tone works better than emotions. It also leaves a record of what was returned, when and why.
7. One point of contact and a steady rhythm
- Talk to the foreman or the contractor, not to each worker separately — otherwise instructions contradict each other.
- A short regular call (for example, every few days): what is done, what’s next, what is needed from you.
- Keep a list of decisions waiting on you: tiles, paint, socket positions. Crews often stand idle precisely because of an owner’s open question.
Warning signs
- A large prepayment for labour “so you don’t lose your slot”.
- Reluctance to show hidden works before they are covered.
- Materials without receipts, or cheaper than agreed.
- The schedule keeps slipping without explanation.
- Different people on site every time.
None of these automatically means the crew is bad, but each is a reason to ask a question and record the answer.
Frequently asked questions
How much should I pay the crew up front?
A safe scheme is an advance for materials backed by receipts, and payment for labour after each stage is accepted. Amounts are a matter of agreement, but paying for work that has not been done yet is the biggest risk.
How often should I visit the site?
Always at key points: before electrics and pipes are covered, before plastering, after waterproofing, before floor and wall finishes. In between, photo reports and a short regular call with the foreman are enough.
Do I need a technical supervisor if I keep photo reports?
Photos show what was done, but not always how well. For complex work (electrics, waterproofing, structural changes) it is worth inviting an independent specialist at least for the key acceptances.
What if the crew refuses to redo the work?
Refer to what is written in the contract, the estimate and the project, and to dated photos. That is why agreements are best put in writing before the start.
This article is general information, not professional or legal advice. Requirements depend on your country, the project and the materials used: follow the project documentation and the manufacturer's instructions.