Bathroom waterproofing: what to check before tiling
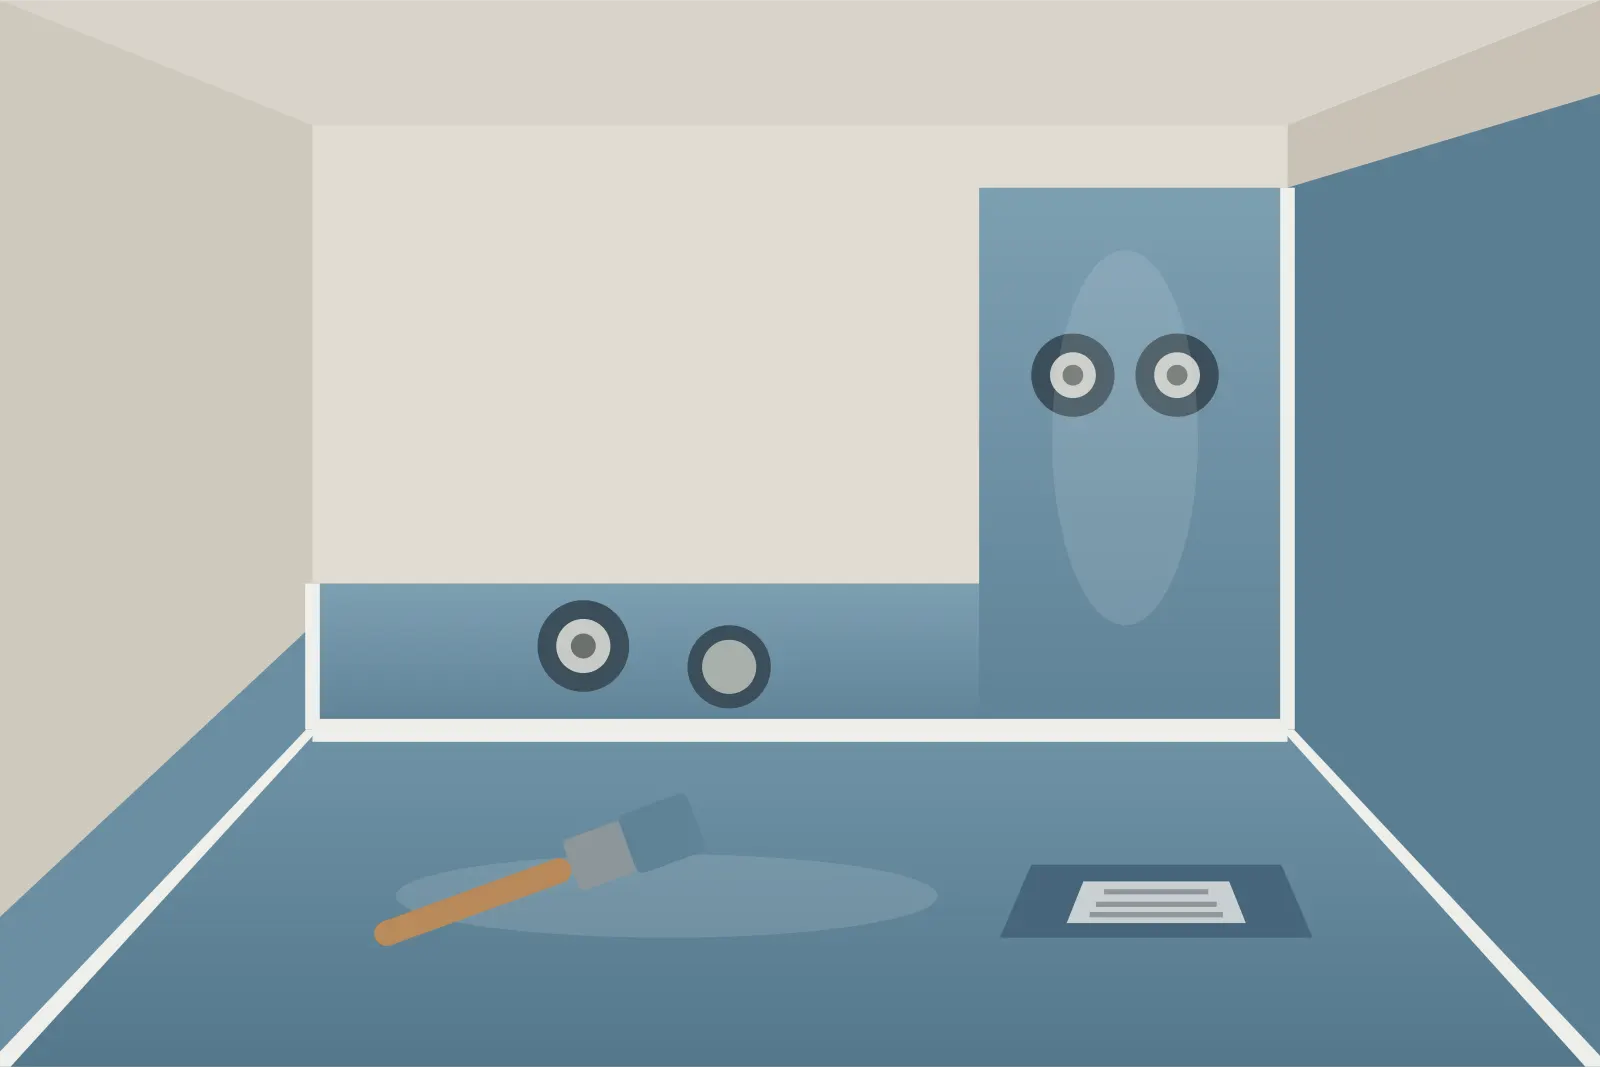
You see bathroom waterproofing only once — just before tiles cover it. After that, people remember it when the water is already in the neighbours’ flat below. That makes it hidden work to accept with extra care: with a water test and photos.
Where waterproofing is needed
- The entire floor of the bathroom or toilet.
- Floor-to-wall junctions — the membrane is turned up the walls.
- Walls in the splash zone: around the bath, and higher in the shower area than in the rest of the room.
- Pipe penetrations and the shower drain.
The exact upstand heights and coat requirements depend on the product and the project. They are given in the technical data sheet of the waterproofing system and, for your country, in building codes. Ask the crew which instructions they are following.
Types of waterproofing
- Liquid-applied — cement-polymer slurries or polymer membranes, applied by brush, roller or trowel.
- Sheet or membrane — sheets bonded to the substrate.
Liquid-applied membranes are the most common choice for apartment bathrooms. What matters is that the primer, membrane, reinforcing tapes, pipe collars and tile adhesive are compatible — ideally from one system by one manufacturer.
Checklist before tiling
1. Substrate
- Screed and walls are sound, without cracks or dust.
- The substrate is as dry as the instructions require.
- Primer is applied if the system requires it.
2. Fall to the drain
For a walk-in shower without a tray, the fall to the drain is formed in the screed before waterproofing. A simple check: pour a little water — it should run to the drain, not stand in puddles.
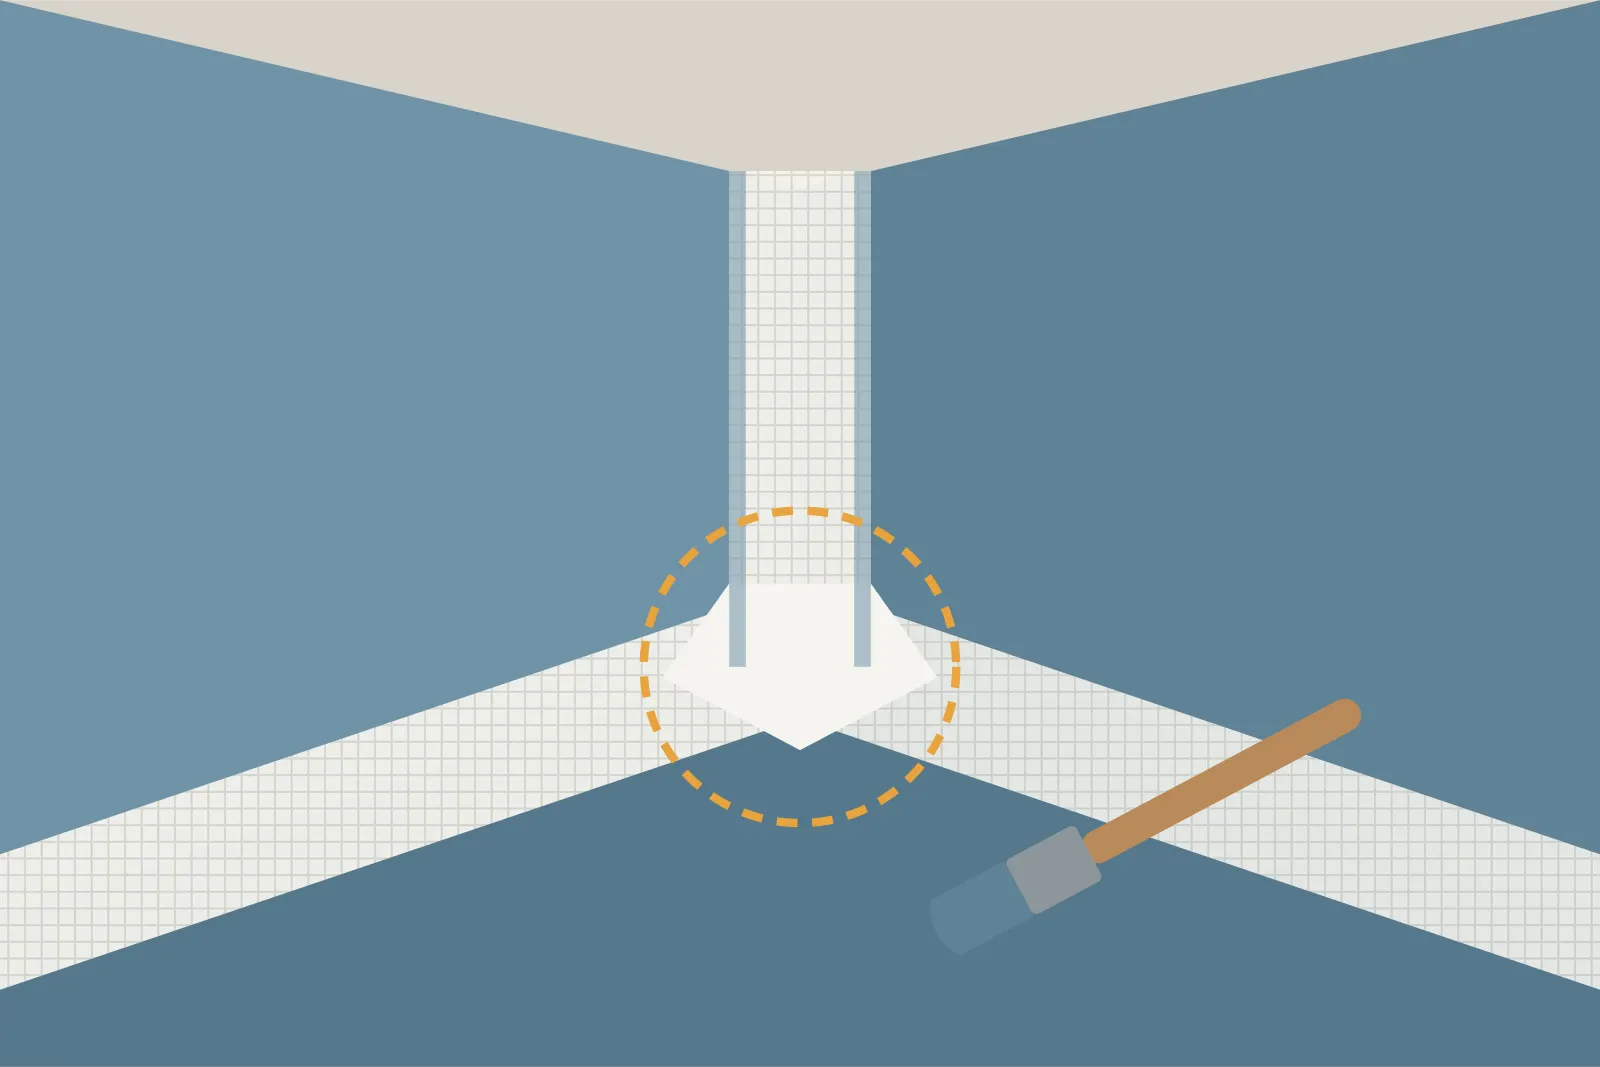
3. Corners and junctions
- In floor-to-wall and wall-to-wall corners there is a reinforcing waterproofing tape embedded in the membrane.
- Internal and external corners have preformed corner pieces or neatly cut tape without folds.
Corners and junctions are where leaks happen most often: the substrate moves there, and without tape the coat cracks.
4. Pipes and drain
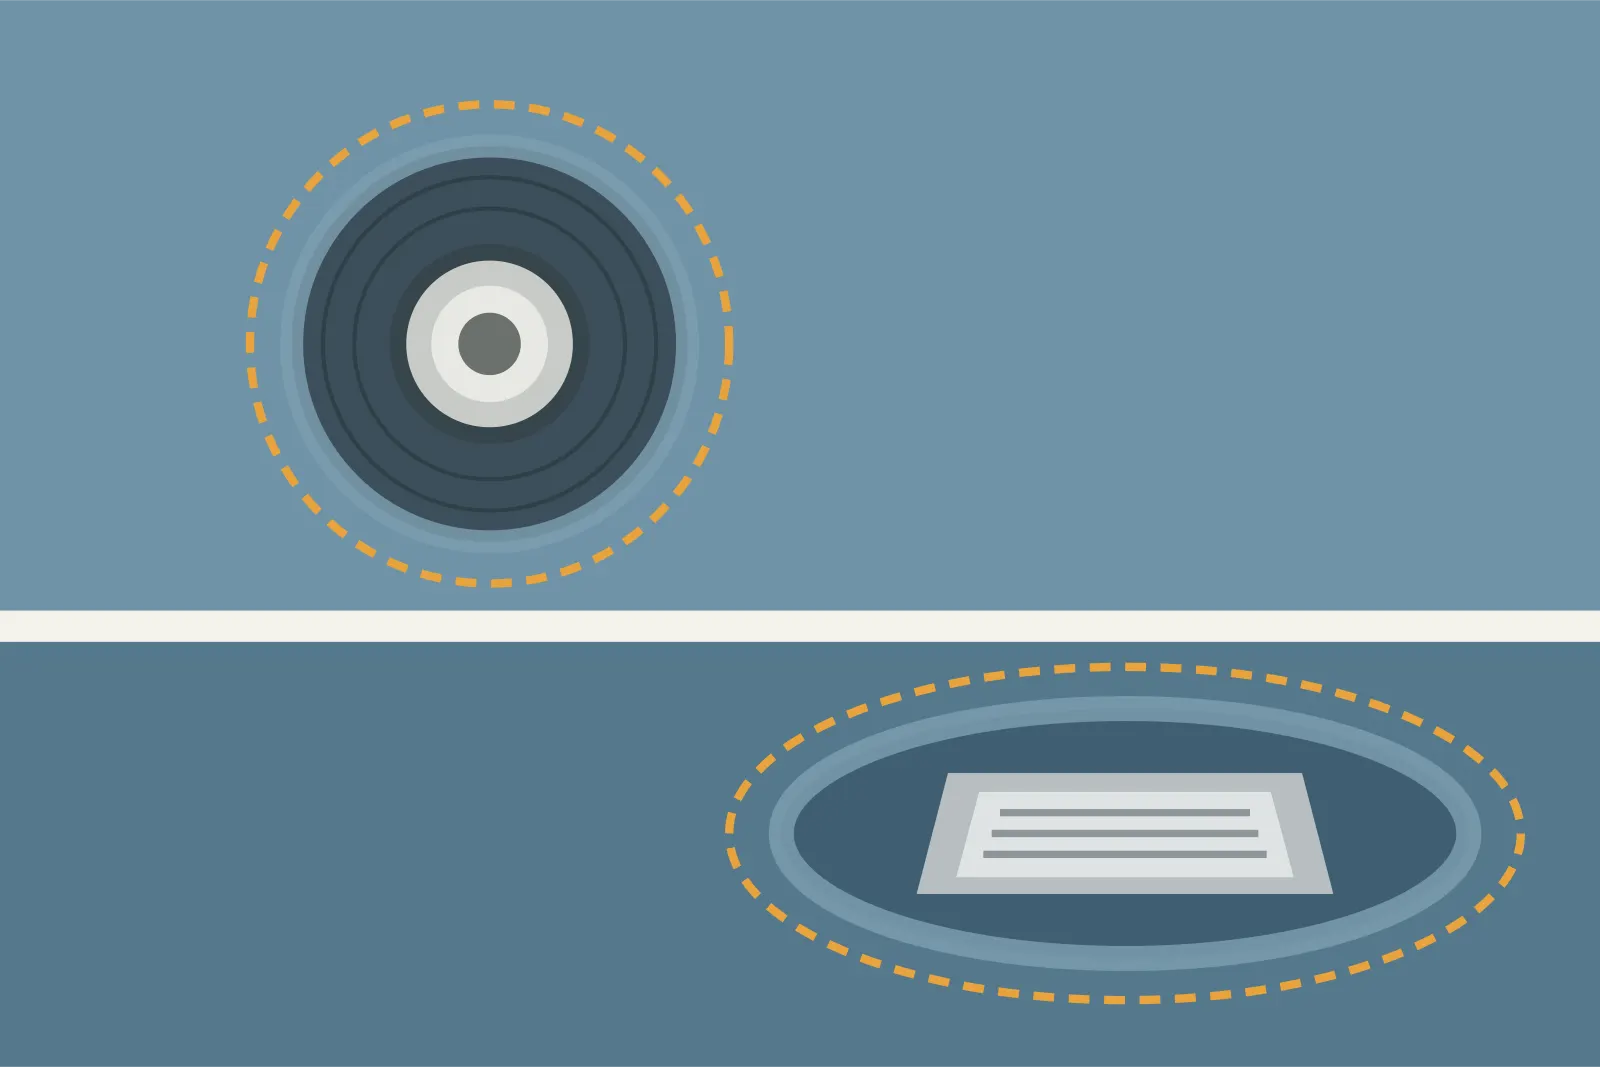
- Every pipe coming out of a wall or floor has a sealing collar.
- The drain has a flange or collar embedded in the waterproofing. Check that the membrane runs onto it without breaks.
5. Coats
- Number of coats and coverage — per the instructions. Two coats are common, the second applied after the first has dried.
- The coat is continuous: no gaps, bubbles or thin spots. Membranes that change colour as they dry help you spot gaps.
6. Drying
Allow the time the manufacturer specifies; it depends on temperature and humidity. Rushing costs more than waiting a day.
7. Water test
This is the main check, and it is worth insisting on:
- Plug the drain and outlets (with a plug or a bag of sand, without damaging the membrane).
- Pour water onto the floor a few centimetres deep, so it reaches the upstands on the walls.
- Mark the water level and photograph it with the date and time.
- Leave it for at least 24 hours unless the manufacturer says otherwise.
- Check the water level and the ceiling of the room below (in an apartment, arrange this with the neighbours).
- Drain the water and let the surface dry before tiling.
If the level has dropped noticeably or stains appear below, find the leak and fix it before tiling.

8. Photos before covering
Take and keep:
- a general view of the floor and walls;
- close-ups of every corner and junction;
- every pipe collar and the drain;
- the water test at the start and at the end.
These photos will matter if there is ever a leak: they show what was done and how.
Common mistakes
- Waterproofing only on the floor, without upstands on the walls.
- No tape in the corners or no collars on pipes.
- Tiles laid on a coat that is still wet.
- No water test — “you can see it’s fine”.
- Walking on the membrane in work boots, putting ladders and buckets on it without protection.
- Drilling holes in the wet zone without sealing them.
When to call a specialist
If you are not sure about the test result, see cracks in the substrate, or are building a walk-in shower with a floor drain, it is worth inviting an independent specialist to accept the waterproofing. That is cheaper than tearing out tiles.
The bathroom stages fit into the overall renovation sequence — see renovation stages in order.
Frequently asked questions
Do I need waterproofing if there will be tiles?
Yes. Tiles themselves let through very little water, but grout joints and junctions do. The waterproofing under the tiles is what actually holds the water.
How long should waterproofing dry before tiling?
It depends on the product, the number of coats, temperature and humidity. Drying time between coats and before tiling is given in the manufacturer's instructions — follow them, not "it feels dry already".
How long should the water be held during the test?
Common practice is at least 24 hours unless the system manufacturer says otherwise. Mark the water level at the start and check it, as well as the ceiling of the room below.
Can I drill bathroom tiles after the renovation?
You can, but holes in the wet zone breach the waterproofing. Plan fixings in advance and seal any holes in the wet zone.
This article is general information, not professional or legal advice. Requirements depend on your country, the project and the materials used: follow the project documentation and the manufacturer's instructions.