Renovation stages in order: what comes first and why
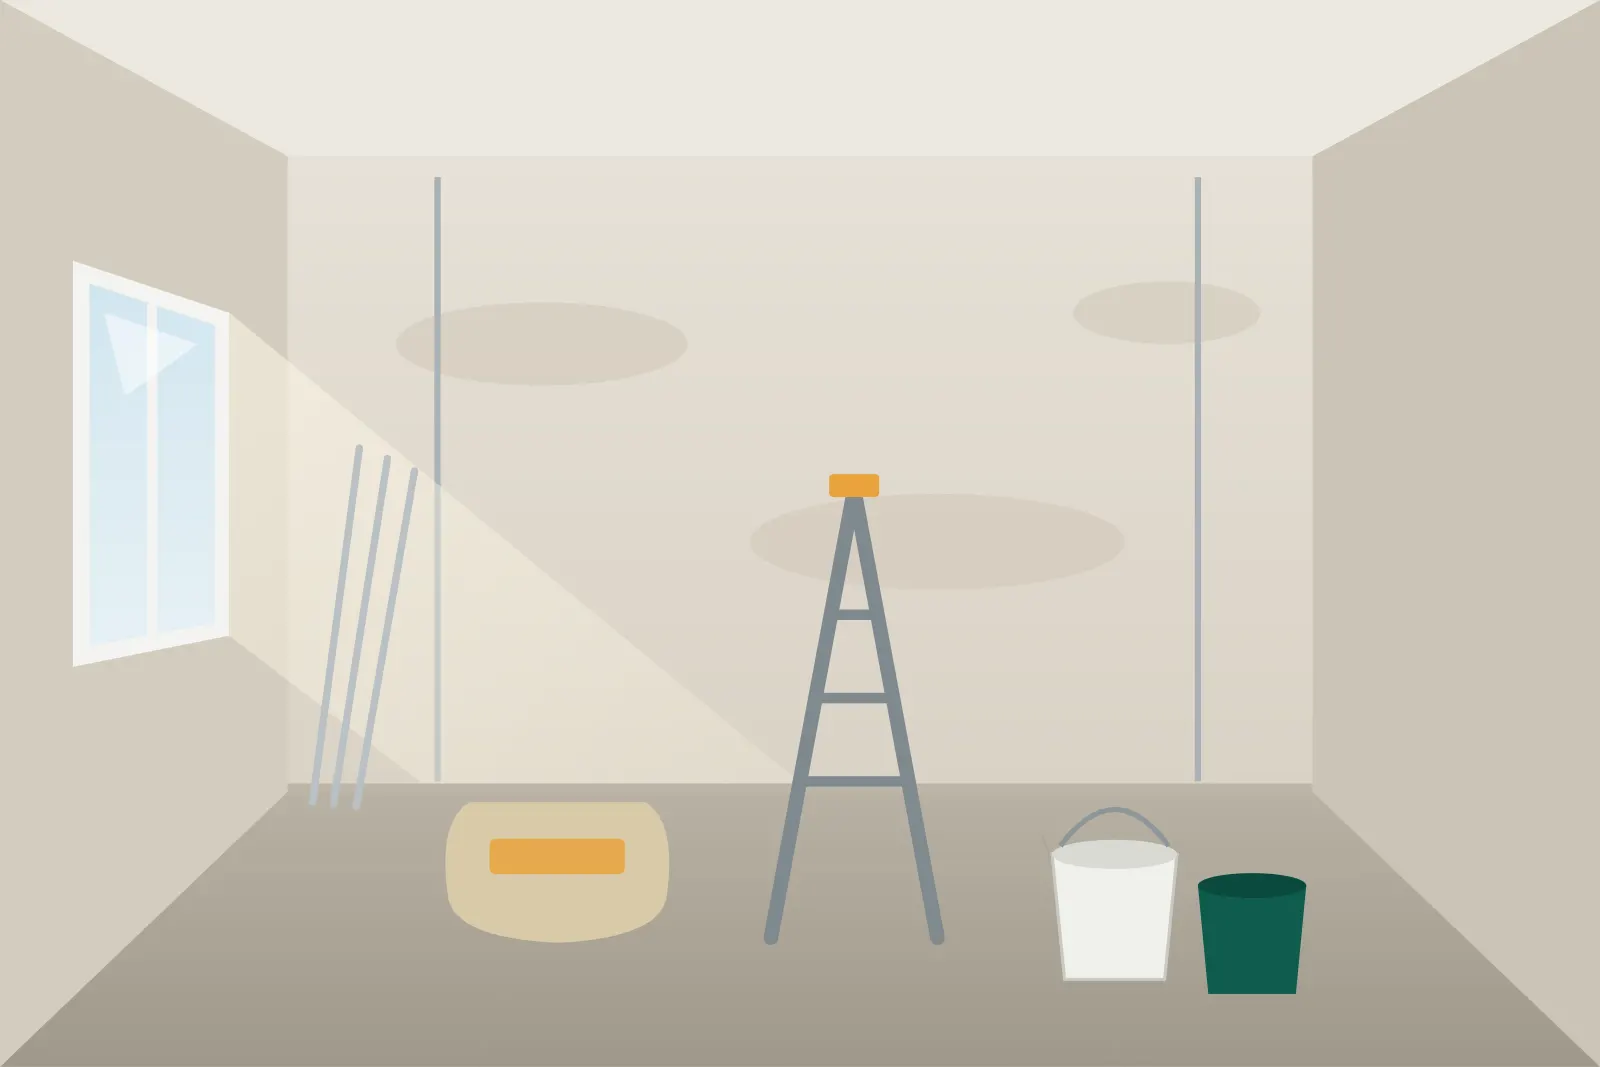
A renovation is a chain where each next stage covers the previous one. Plaster hides cables, screed hides pipes, tiles hide waterproofing. If something went wrong earlier, fixing it later means breaking what is already finished. That is why the order of works is not a formality — it is the main way not to pay twice.
Below is a typical sequence for an apartment. For a house the logic is the same, plus the roof, facade and external utilities.
Stage 0. Decisions before the crew arrives
The most expensive changes are the ones made in the middle of a renovation. Before you start, have:
- Measurements and a plan of the rooms. Ideally an interior design project; at minimum a drawing with the furniture placed.
- An electrical plan: sockets, switches, lights, number of circuits, heavy appliances (hob, oven, water heater, air conditioner).
- A plumbing plan: bath or shower, toilet, sinks, washing machine and dishwasher, water heater.
- An estimate listing works and materials, and a schedule with stages.
- Long-lead materials: tiles, doors, windows, sanitary ware, kitchen. Order them late and the crew will stand idle.
- Permits if you change the layout. Moving walls, especially load-bearing ones, and changing wet areas require approval in many countries. Check the rules before you start.
Stage 1. Demolition
Old finishes, doors and fixtures come out; if needed, old plaster and screed too; partitions are taken down. Agree on debris removal now: who, when and who pays.
Demolition often reveals hidden problems: cracks, old wiring, damp. Photograph them and update the estimate while everything is still open.
Stage 2. Layout changes and partitions
New walls go up, openings are made or closed. By the end of this stage the room geometry must be final: cable and pipe routes depend on it.
Stage 3. Windows and the entrance door
Windows go in before plastering, so the reveals and joints are finished together with the walls. The entrance door is often replaced at the same time to secure the property. Interior doors are the opposite — almost at the very end.
Stage 4. Rough-in services
This is the most important stage to control, because afterwards everything disappears into walls and floors:
- electrics: chases, cables, back boxes, the distribution board;
- water supply and drainage: pipes and outlets for fixtures;
- heating, including underfloor heating pipes;
- ventilation and air-conditioning lines;
- low-voltage networks: internet, intercom, CCTV.
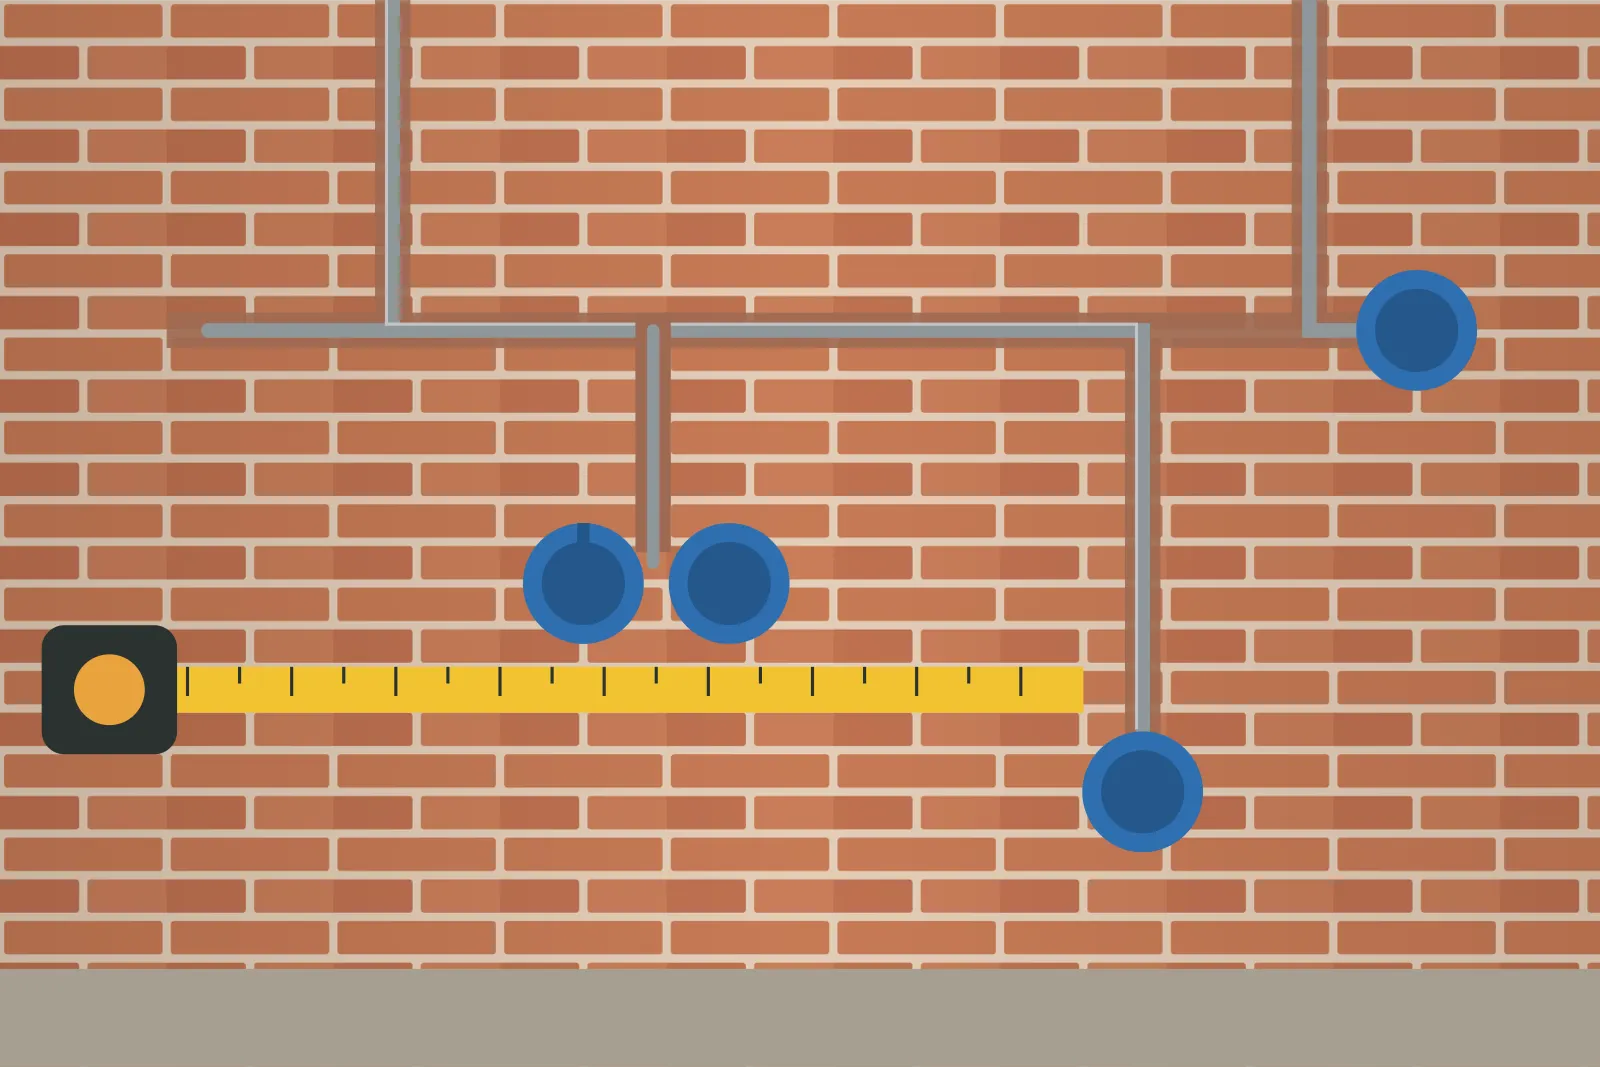
Photograph everything before it is covered. A general shot of each wall plus close-ups, ideally with a tape measure in frame, so you know later where exactly a cable or pipe runs. Water pipes are pressure-tested before they are closed — ask the crew to show you the result.
Stage 5. Wall plastering
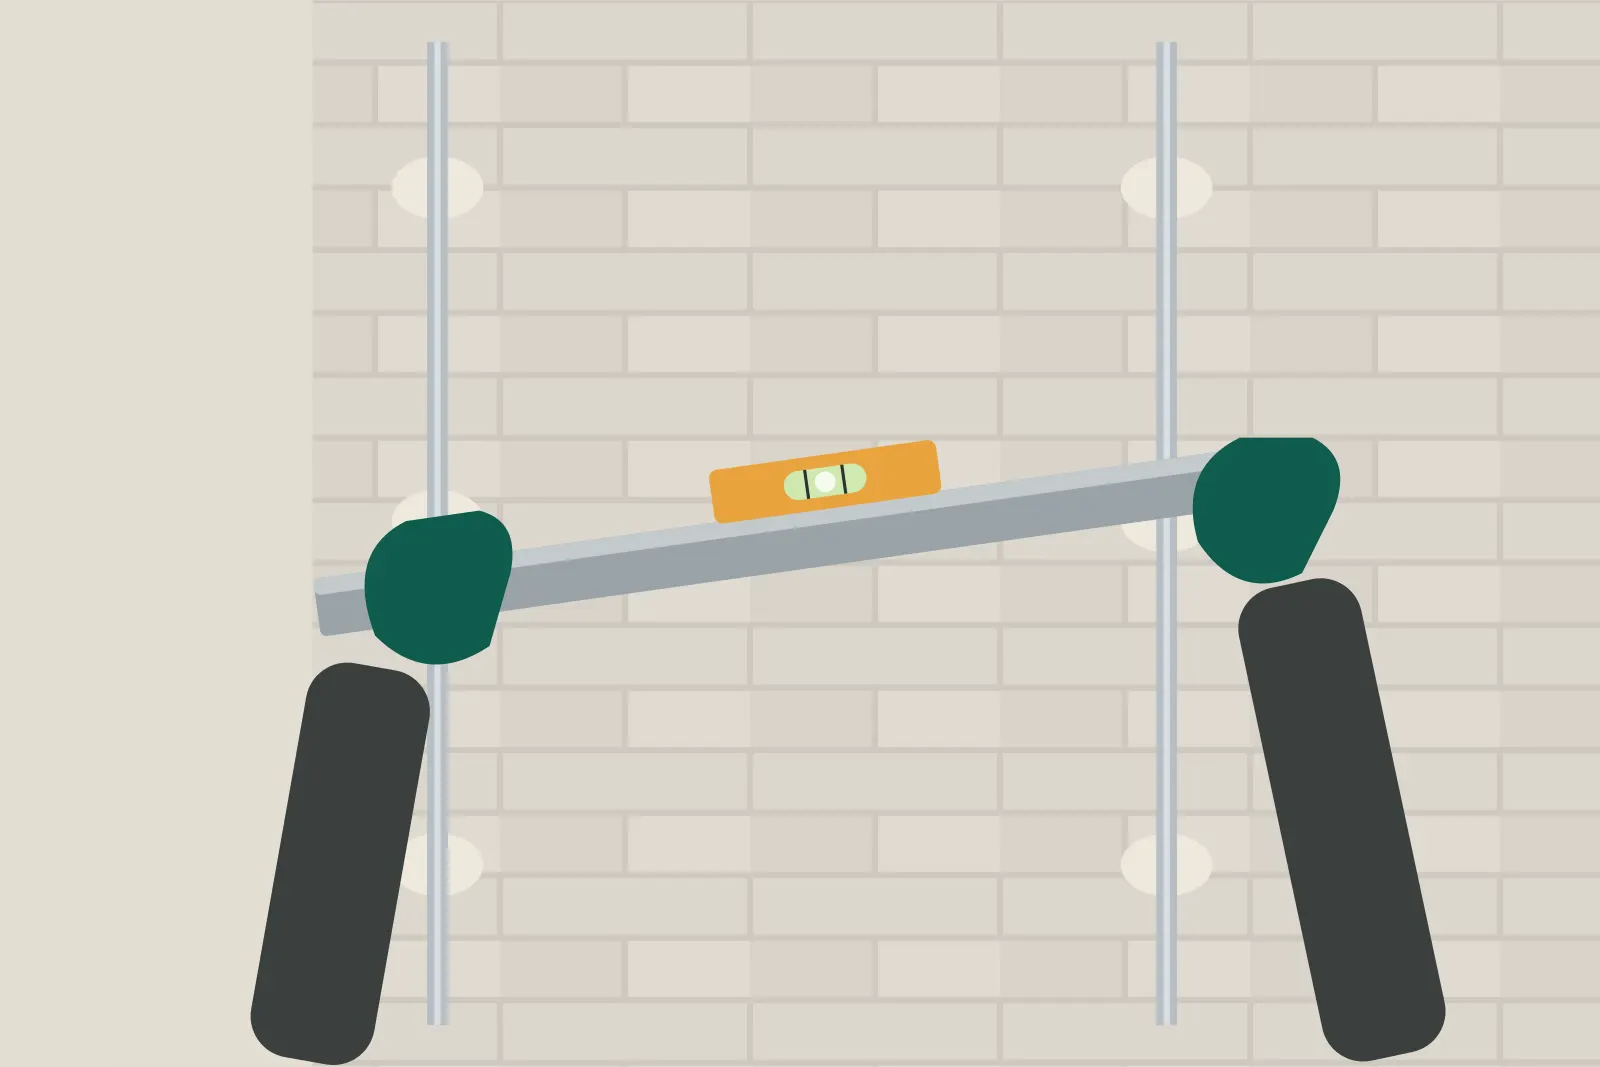
A wet process: walls are levelled to guide beads. Before it starts, check that the beads are set true — whether furniture and tiles fit later depends on it.
Stage 6. Floor screed
Screed usually follows plastering. It takes a long time to dry, and how long depends on the mix, thickness, temperature and humidity — follow the manufacturer’s instructions. Before laying laminate, parquet or vinyl, check the moisture of the screed: a base that is too wet is a common cause of swollen flooring.
Stage 7. Wet areas: waterproofing and tiles
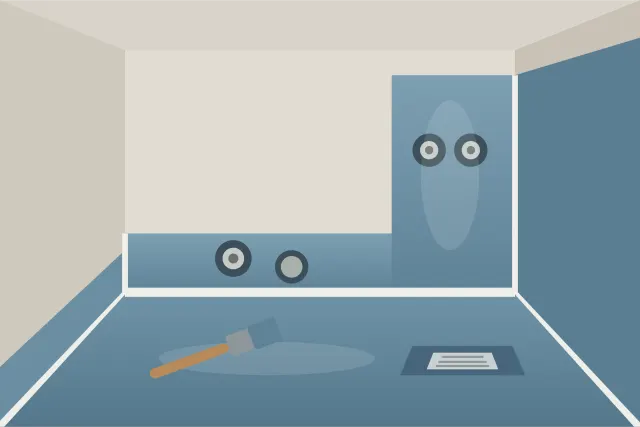
In the bathroom and toilet, waterproofing comes first, it is tested with water, and only then are tiles laid. Details are in the article on bathroom waterproofing.
Stage 8. Ceilings
Plasterboard ceilings are built before skimming, together with the walls. Stretch ceilings are usually installed near the end, after the walls are painted — confirm the order with the installers.
Stage 9. Skimming and surface preparation
Skimming, sanding, priming. A dusty and long stage, and the paint finish depends on it: side light reveals every wave.
Stage 10. Finishing
Painting or wallpaper, floor coverings, interior doors, skirting boards. Doors go in when the floor is finished, because the floor level defines the door height.
Stage 11. Second-fix electrics and plumbing
Sockets, switches, light fittings, taps, toilet, basins, appliance connections.
Stage 12. Furniture, kitchen and cleaning
Kitchen and built-in furniture installation, then a thorough post-renovation clean.
The sequence in one table
| # | Stage | Check before the next one |
|---|---|---|
| 0 | Decisions and purchases | Electrical and plumbing plans, estimate, schedule |
| 1 | Demolition | Photos of hidden problems, debris removed |
| 2 | Partitions | Final room geometry |
| 3 | Windows, entrance door | Installed before plastering |
| 4 | Rough-in services | Photos before covering, pressure test |
| 5 | Plastering | Guide beads set true |
| 6 | Screed | Level, drying time per instructions |
| 7 | Wet areas | Waterproofing water test |
| 8 | Ceilings | Order agreed with installers |
| 9 | Skimming | Flatness under side light |
| 10 | Finishing | Floor done before doors |
| 11 | Second fix | Every socket and tap works |
| 12 | Furniture and cleaning | — |
Where money is usually lost
- Decisions on the go. Moving a socket after plastering means a new chase, new plaster and new skimming.
- Hidden works covered without photos. In a year nobody will remember where the cable runs, and you’ll be drilling blind.
- Paying for a whole stage up front. It is safer to pay an advance for materials against receipts, and pay for labour after the stage is accepted.
- Last-minute materials. The crew waits, and someone pays for the downtime — directly or through a shifted deadline.
The exact order may differ depending on the project, materials and the crew’s methods. What matters is that every move to the next stage is deliberate: with photos, a check and the previous stage accepted.
Frequently asked questions
What comes first: wall plastering or the floor screed?
Usually walls are plastered first and the screed is poured afterwards, because mortar and debris from the walls fall on the floor. If the crew suggests the opposite, agree how they will protect the finished screed.
When should windows be installed?
Before plastering. Then the reveals and the joints around the window can be finished together with the walls, and new windows don't have to be fitted to walls that are already finished.
When should I order the kitchen and built-in wardrobes?
Choose them and set a budget at the start. Final measurements are taken when the walls are levelled and the floor is ready. Check the exact moment with the furniture maker.
Can I live in the apartment during the renovation?
During demolition, wall chasing and wet works it is hard: dust, noise, humidity and often no water or power. It is easier to move out at least until the rough works are done.
This article is general information, not professional or legal advice. Requirements depend on your country, the project and the materials used: follow the project documentation and the manufacturer's instructions.